Having used Flutter for a while, you’ve probably come into contact with a Widget called FutureBuilder. Whether you decided to investigate its purpose or not, this article aims for the answers to the questions: “What is a FutureBuilder?” and “When should I use it?” or “When do I have to use it?”
Preface
When it comes to the question “When do I have to use it?” the answer is pretty clear: never. You can perfectly get around using it and still perform every possible programming task in Flutter. One can say that a FutureBuilder is nothing else but a convenience feature for recurring tasks, making their execution easier and with less boilerplate code.
But what are these kinds of recurring tasks, this strange FutureBuilder is useful for? Actually, the name of the Widget already spoils it: whenever you use a Future.
First example
Before we deep-dive into the semantics of it, let’s start with an example. The following code snippets are taken from the official FlutterFire documentation. FlutterFire is Flutter’s official implementation of a Firebase client. For those you haven’t heard or haven’t used Firebase: it’s one of Google’s development platforms. The purpose is to have a backend for your mobile app without having to manage infrastructure like setting up a server with a web server, a database and such things.
In Flutter, before being able to use the Firebase client, it needs to be initialized. This can be done like this:
 1import 'package:flutter/material.dart';
 2
 3// Import the firebase_core plugin
 4import 'package:firebase_core/firebase_core.dart';
 5
 6void main() {
 7  runApp(App());
 8}
 9
10class App extends StatefulWidget {
11  _AppState createState() => _AppState();
12}
13
14class _AppState extends State<App> {
15  // Set default `_initialized` and `_error` state to false
16  bool _initialized = false;
17  bool _error = false;
18
19  // Define an async function to initialize FlutterFire
20  void initializeFlutterFire() async {
21    try {
22      // Wait for Firebase to initialize and set `_initialized` state to true
23      await Firebase.initializeApp();
24      setState(() {
25        _initialized = true;
26      });
27    } catch(e) {
28      // Set `_error` state to true if Firebase initialization fails
29      setState(() {
30        _error = true;
31      });
32    }
33  }
34
35  @override
36  void initState() {
37    initializeFlutterFire();
38    super.initState();
39  }
40
41  @override
42  Widget build(BuildContext context) {
43    // Show error message if initialization failed
44    if(_error) {
45      return SomethingWentWrong();
46    }
47
48    // Show a loader until FlutterFire is initialized
49    if (!_initialized) {
50      return Loading();
51    }
52
53    return MyAwesomeApp();
54  }
55}
Even if we strip out the imports and other boilerplate, that’s still hell a lot of code for only initializing and reacting on loading and error.
We have two state variables here (_initialized and _error), two setState() calls and also an implemented initState() method. That’s a lot of state management.
Now let’s have a look at the very same functionality implemented using a FutureBuilder:
 1import 'package:flutter/material.dart';
 2
 3// Import the firebase_core plugin
 4import 'package:firebase_core/firebase_core.dart';
 5
 6void main() {
 7  runApp(App());
 8}
 9
10class App extends StatelessWidget {
11  // Create the initialization Future outside of `build`:
12  final Future<FirebaseApp> _initialization = Firebase.initializeApp();
13
14  @override
15  Widget build(BuildContext context) {
16    return FutureBuilder(
17      // Initialize FlutterFire:
18      future: _initialization,
19      builder: (context, snapshot) {
20        // Check for errors
21        if (snapshot.hasError) {
22          return SomethingWentWrong();
23        }
24
25        // Once complete, show your application
26        if (snapshot.connectionState == ConnectionState.done) {
27          return MyAwesomeApp();
28        }
29
30        // Otherwise, show something whilst waiting for initialization to complete
31        return Loading();
32      },
33    );
34  }
35}
Now this looks much cleaner, doesn’t it? Let’s look at what makes it easier to read:
- With only 35 lines of code, there are 20 lines less than with the
setState()approach - The hole App widget does not manage any state. Thus, a
StatelessWidgetwas taken - This also eliminates the necessity of
initState() - The coding style is reactive (declaration of how to react on different properties of the snapshot) instead of imperative (explicitly reacting on changes by setting the state)
But where is the state stored that we saw being stored in two variables (_initialized and _error) in the first snippet?
It’s all encapsulated in the snapshot argument of the builder function, which actually of the type AsyncSnapshot<FirebaseApp>.
When the Future throws an error, it will result in the snapshot’s getter hasError evaluating to true. Until the Future returns something, snapshot.connectionState will stay ConnectionState.waiting
Second example
Okay, let’s head over to a more specific example. Initialization of Firebase is okay to illustrate the principle, but how about a concrete screen?
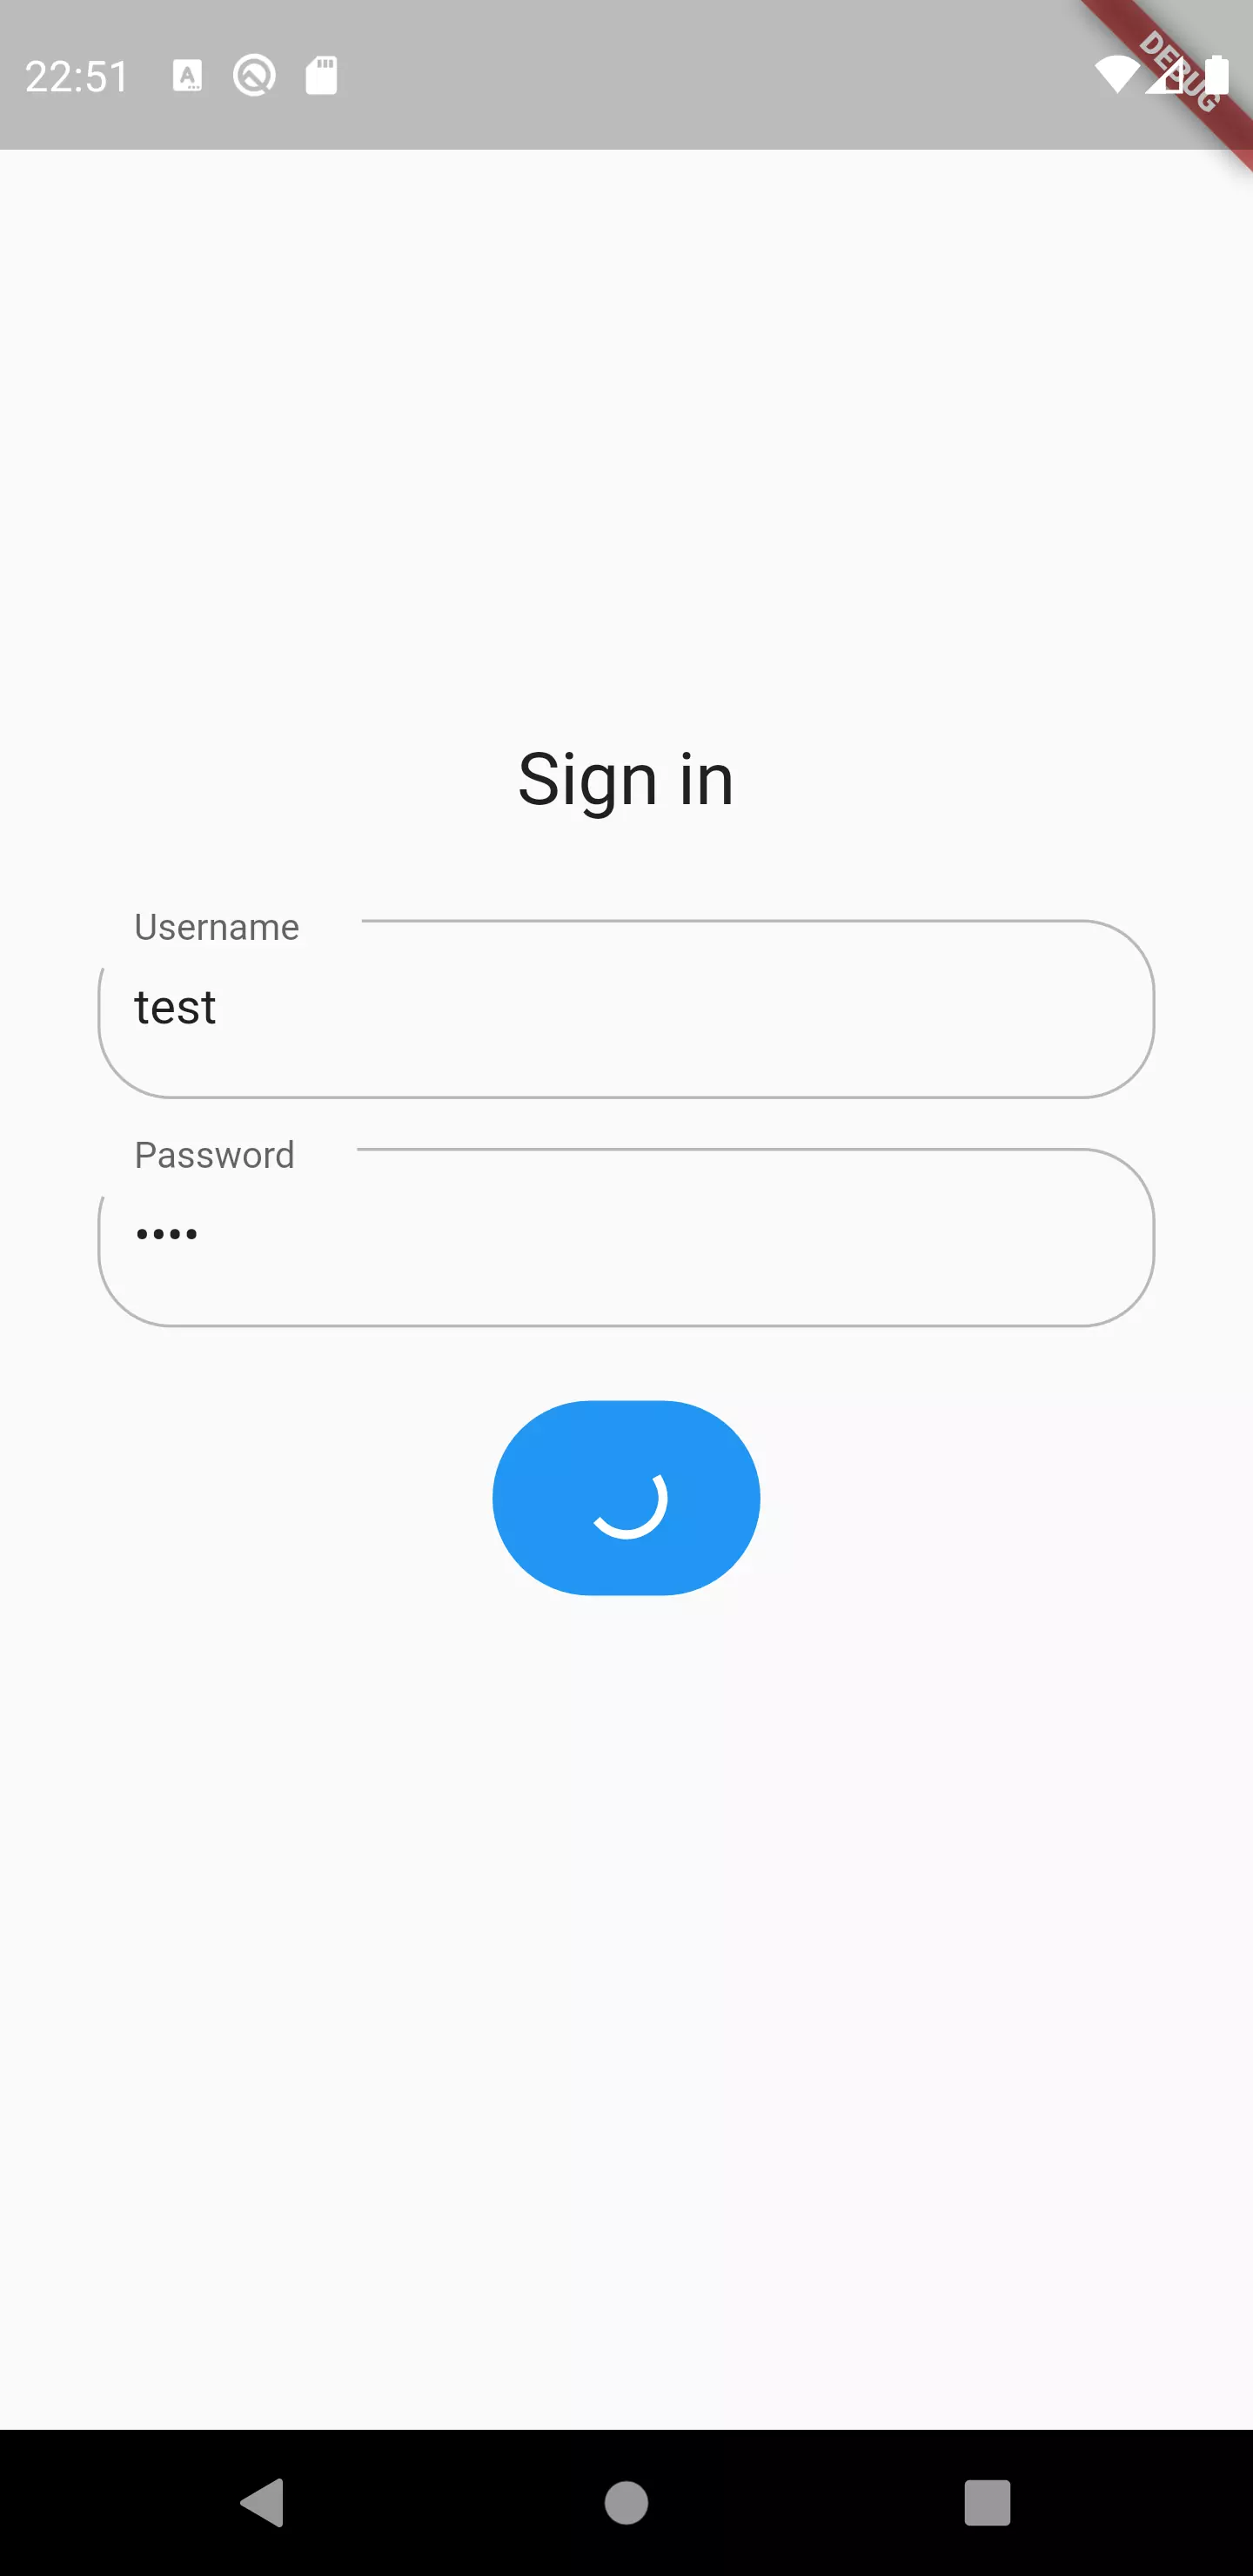
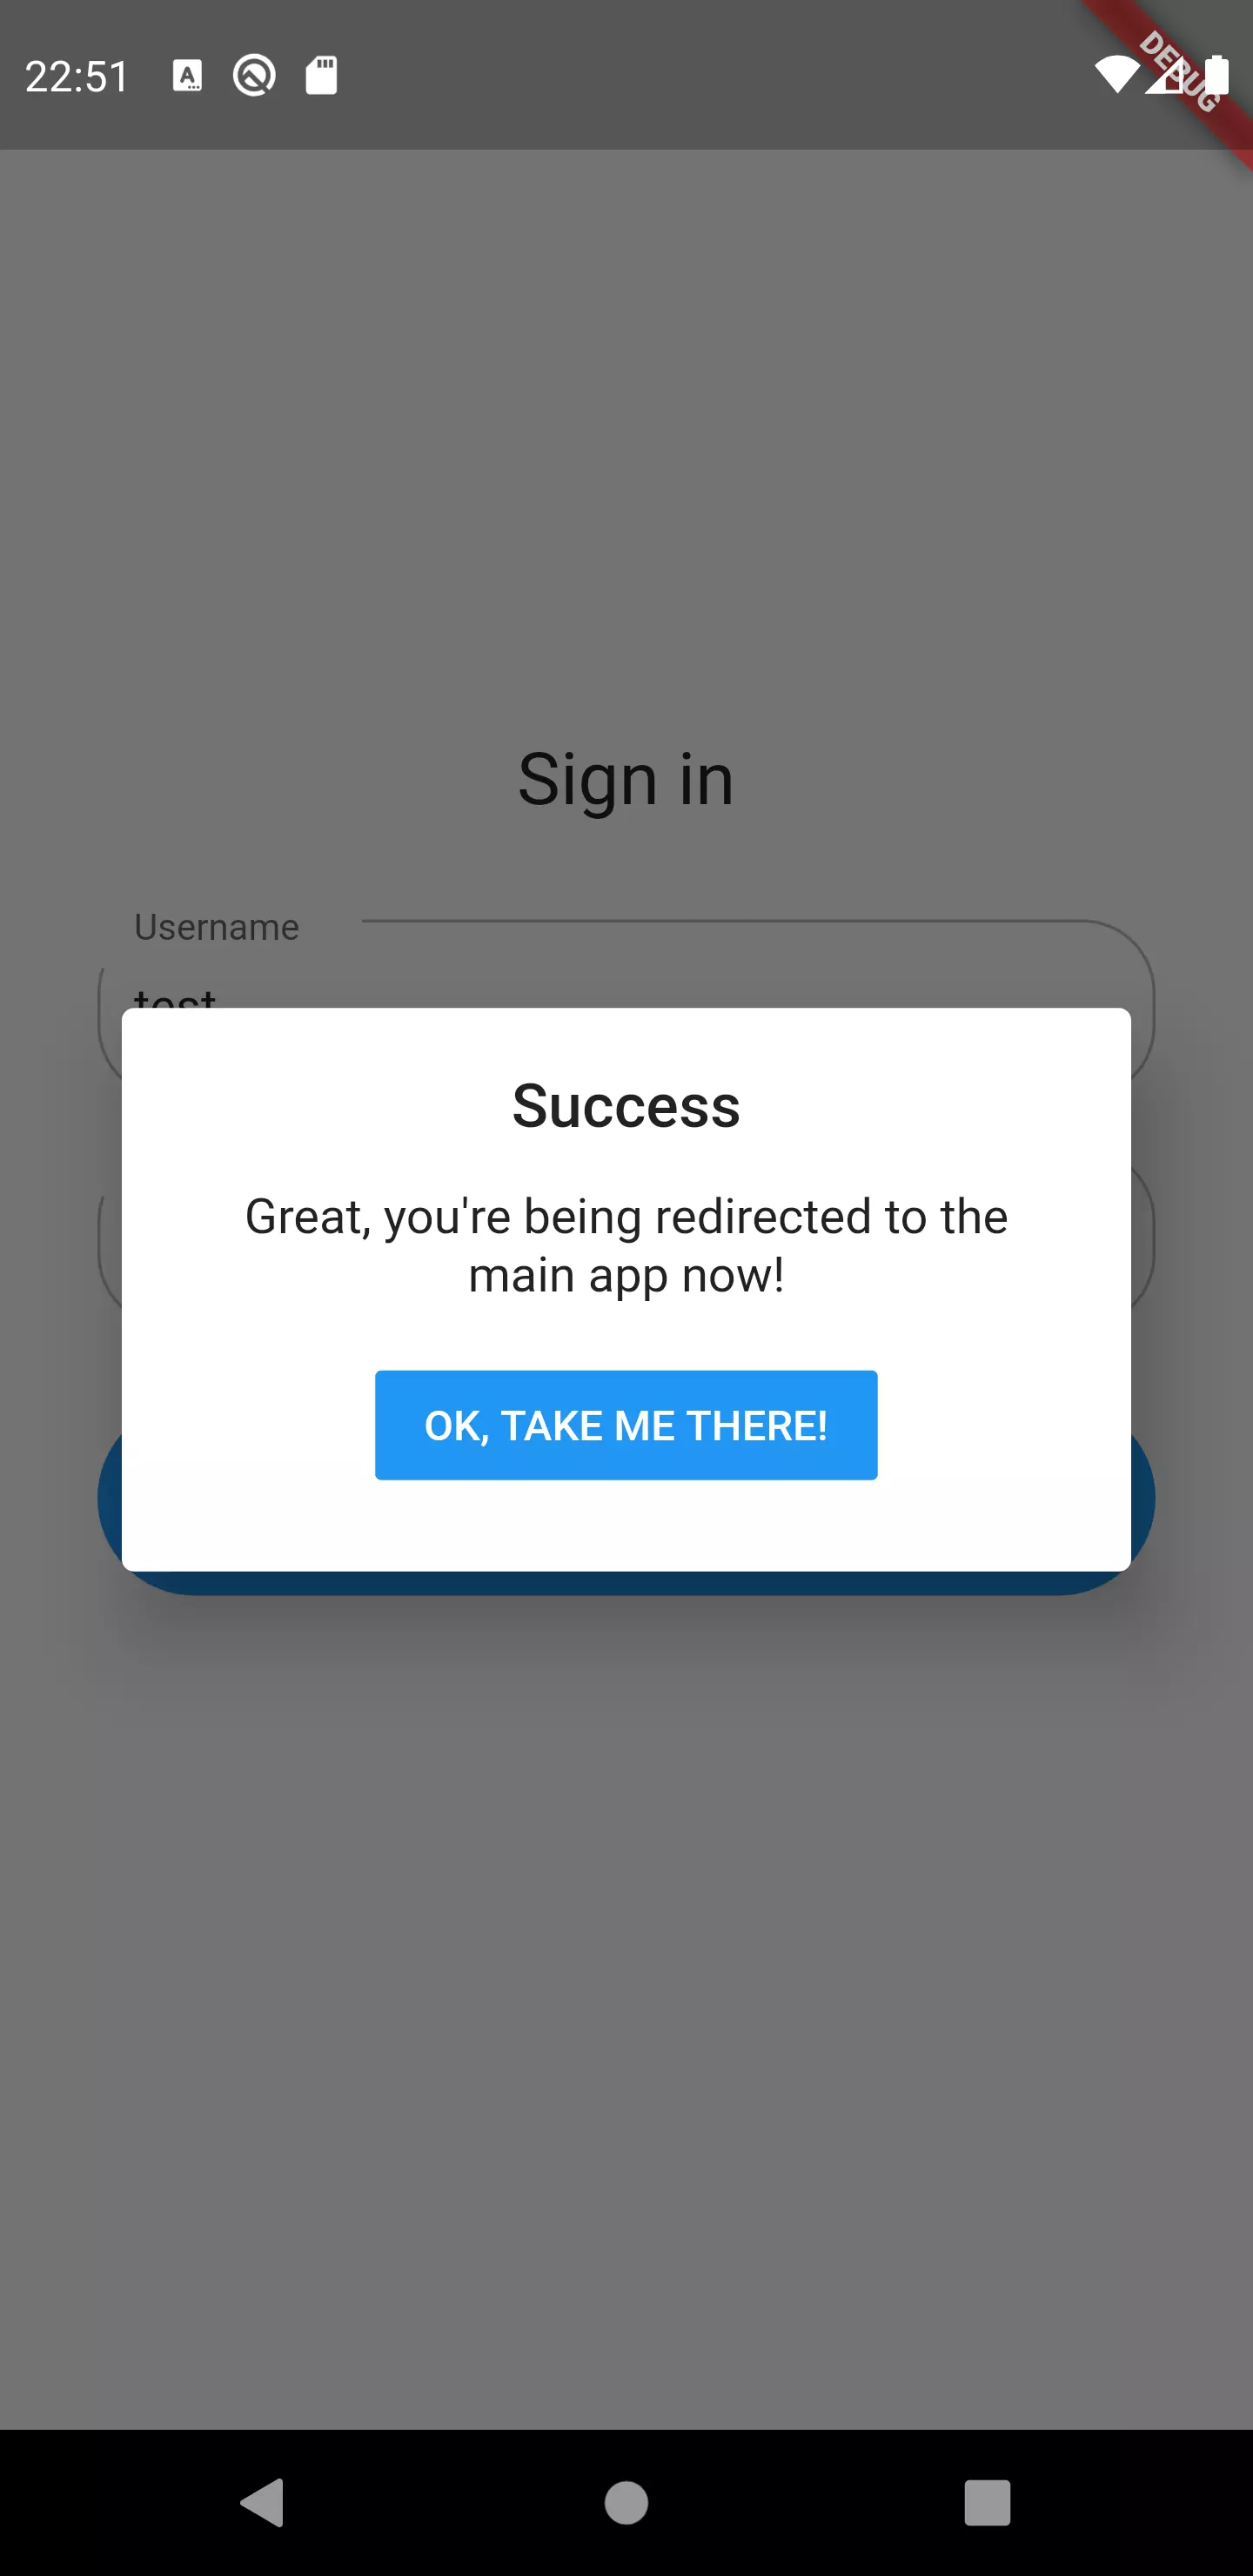
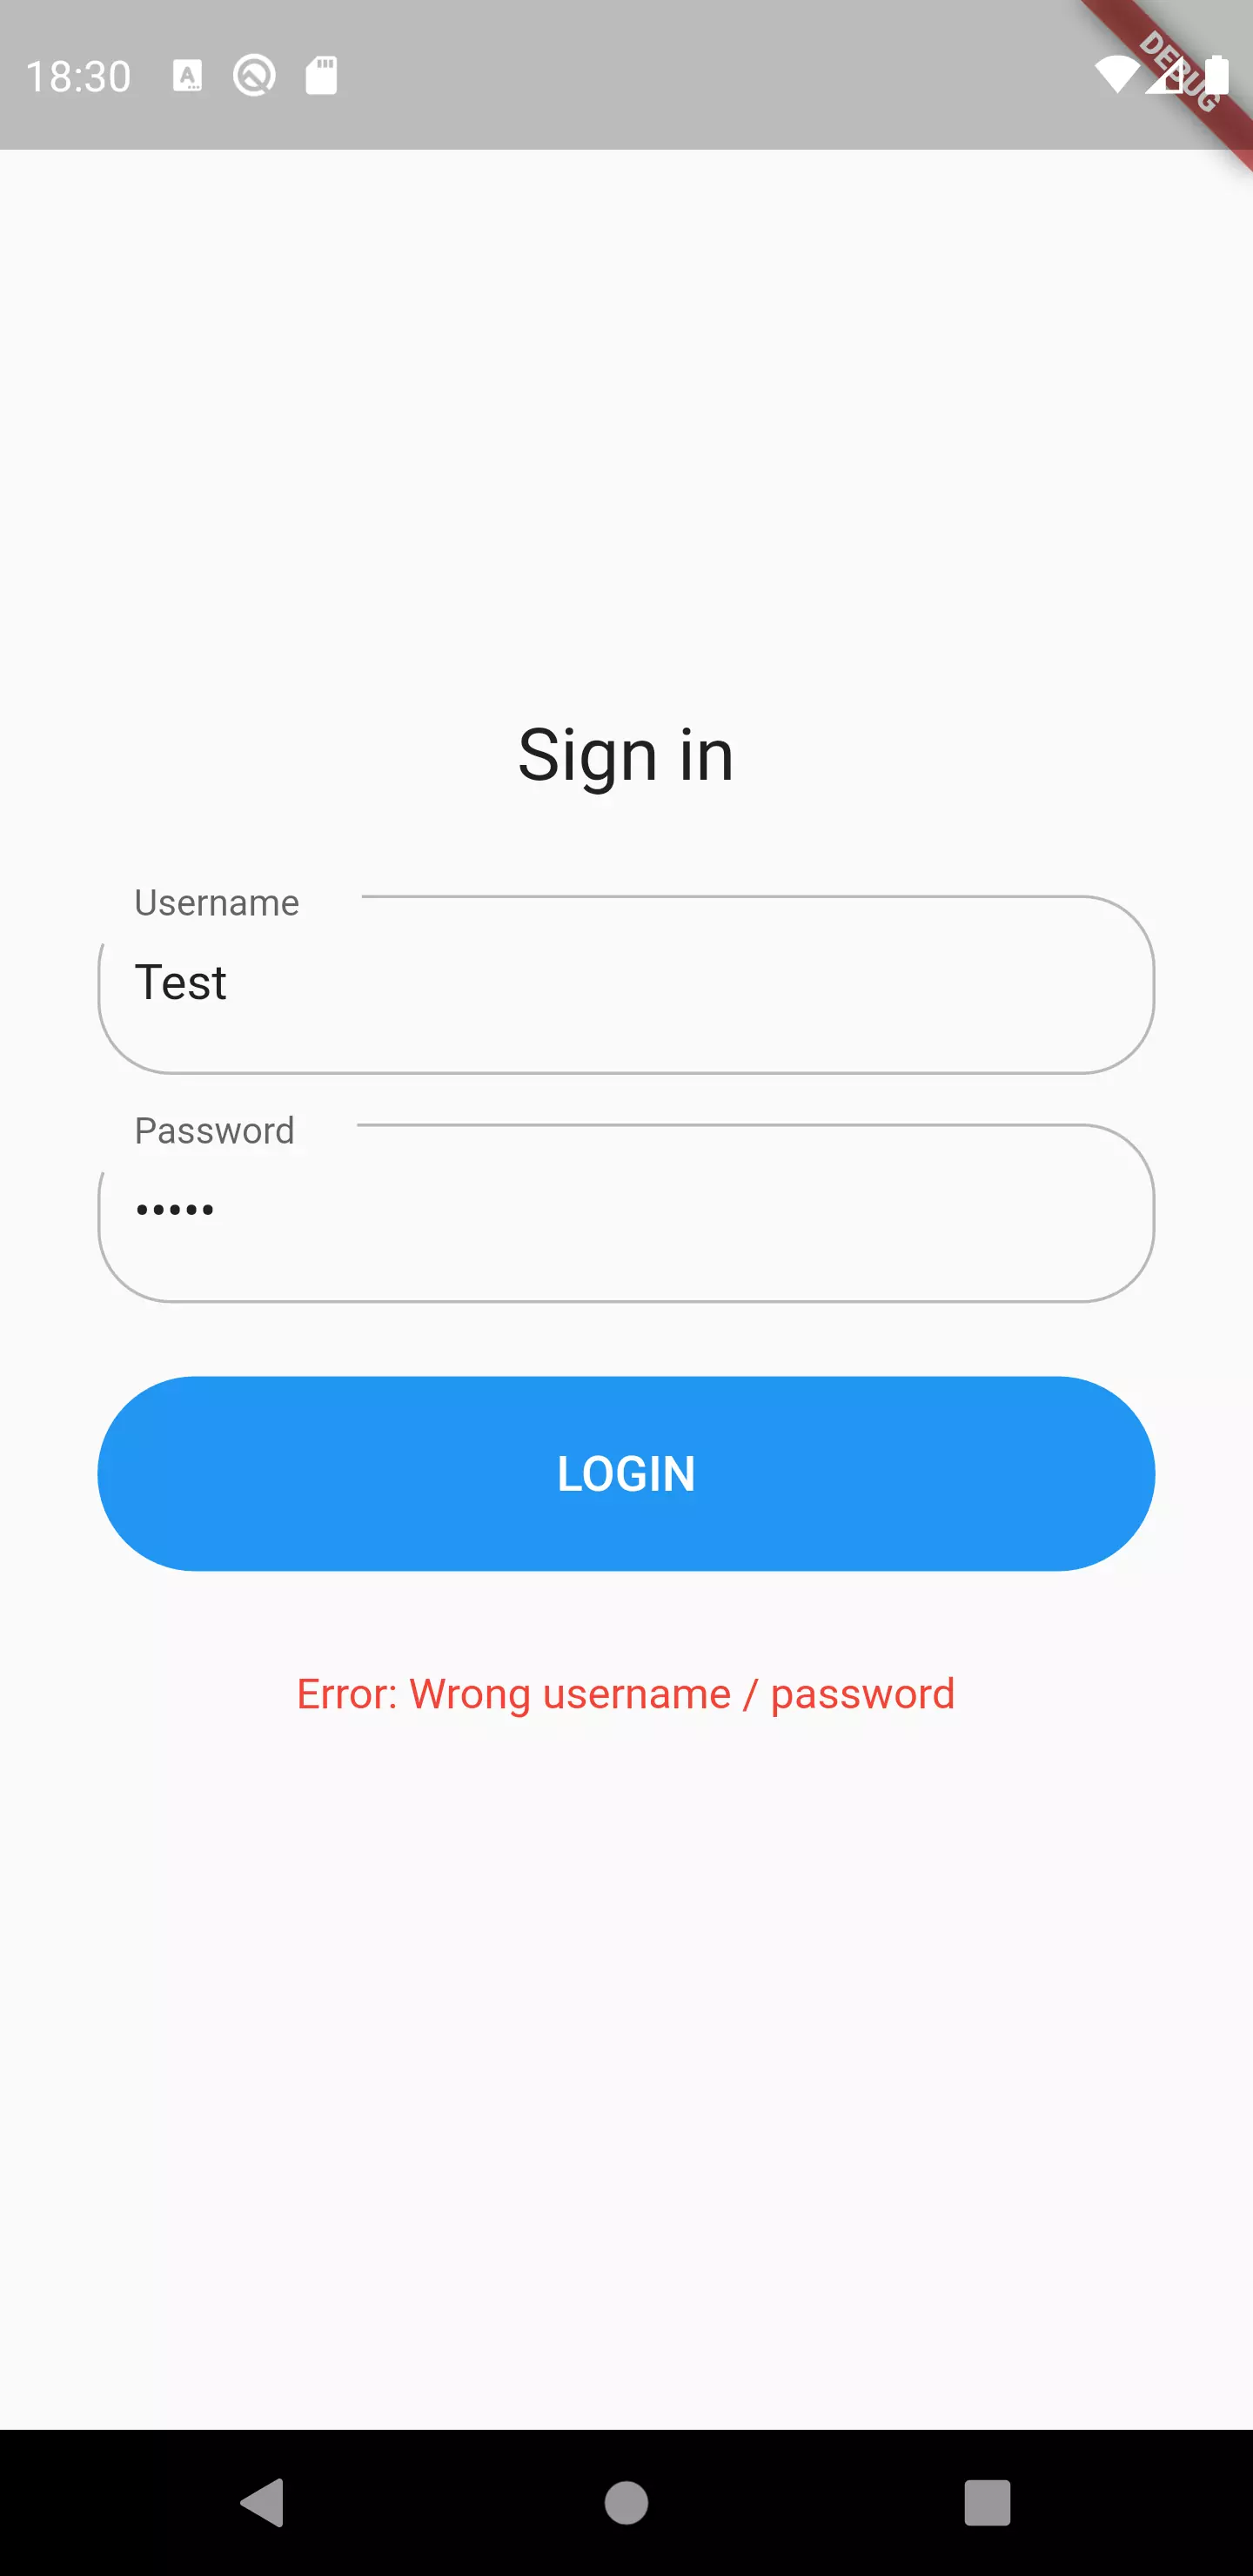
Let’s say we have a login screen and want it to react on the response of the fictional API (which is of course called asynchronously).
It is supposed to look like this:
Let’s compare how we could solve this with a FutureBuilder vs. StatefulWidget.
 1class LoginWithFuture extends StatefulWidget {
 2  @override
 3  _LoginWithFutureState createState() => _LoginWithFutureState();
 4}
 5
 6class _LoginWithFutureState extends State<LoginWithFuture> {
 7  Future<bool> _loginFuture;
 8
 9  @override
10  Widget build(BuildContext context) {
11    return FutureBuilder(
12      future: _loginFuture,
13      builder: (BuildContext context, AsyncSnapshot<bool> snapshot) {
14        return LoginForm(
15          isLoading: snapshot.connectionState == ConnectionState.waiting,
16          result: snapshot.hasData ? snapshot.data : null,
17          onSubmit: (username, password) {
18            setState(() {
19              _loginFuture = _login(username, password);
20              _loginFuture.then(
21                (loginSuccessful) {
22                  if (loginSuccessful) {
23                    DialogBuilder.showSuccessDialog(context);
24                  }
25                },
26                onError: (error) => print(error.toString())
27              );
28            });
29          },
30        );
31      },
32    );
33  }
34
35  Future<bool> _login(String username, String password) async {
36    await Future.delayed(
37        Duration(seconds: 1)
38    );
39
40    return username.toLowerCase() == 'test' && password == '1234';
41  }
42}
To be fair, in this case we need to use a StatefulWidget for the solution with the FutureBuilder as well. That’s because we use a UI trigger (button tap) to create the Future and talk directly to the “login service” which in this case is just a mock method.
If we used a different state management apporach e. g. BLoC pattern, we would be fine using a StatelessWidget.
The same functionality implemented with setState() looks like this:
 1class LoginWithSetState extends StatefulWidget {
 2  @override
 3  _LoginWithSetStateState createState() => _LoginWithSetStateState();
 4}
 5
 6class _LoginWithSetStateState extends State<LoginWithSetState> {
 7  bool _loading = false;
 8  bool _success = false;
 9  bool _error = false;
10
11  @override
12  Widget build(BuildContext context) {
13    return LoginForm(
14      isLoading: _loading,
15      result: _success && !_error ? true : null,
16      onSubmit: (username, password) {
17        setState(() {
18          _loading = true;
19          _login(username, password).then(
20            (loginSuccessful) {
21              if (loginSuccessful) {
22                _success = true;
23                DialogBuilder.showSuccessDialog(context);
24              }
25            },
26            onError: (error) {
27              setState(() {
28                _error = true;
29              });
30            }
31          );
32        });
33      },
34    );
35  }
36
37  Future<bool> _login(String username, String password) async {
38    await Future.delayed(
39        Duration(seconds: 1)
40    );
41
42    return username.toLowerCase() == 'test' && password == '1234';
43  }
44}
The difference regarding lines of codes is acceptable. However, there are three member variables to be created when using the second approach.
Closing words
In the end it comes down to personal preference when deciding whether to use a FutureBuilder. I can make the code a lot more readable. Also, it removes the necessity to use StatelessWidgets at it stores the state of within the method callback.
When using a pattern in which the state of a certain widget is managed from the outside like it’s the case with the BLoC pattern, it’s more common to have the BLoC call the data layer, await its result and transfer it to the state of the BLoC so that the widget only reacts on the BLoC state.

Comment this 🤌